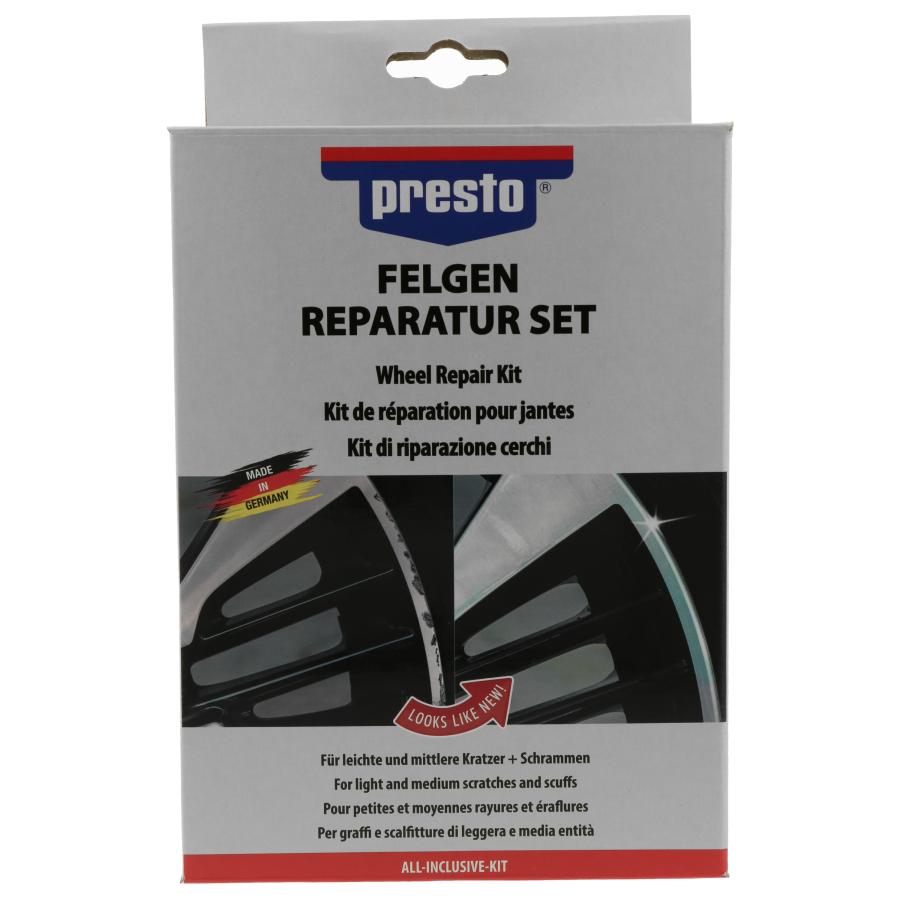
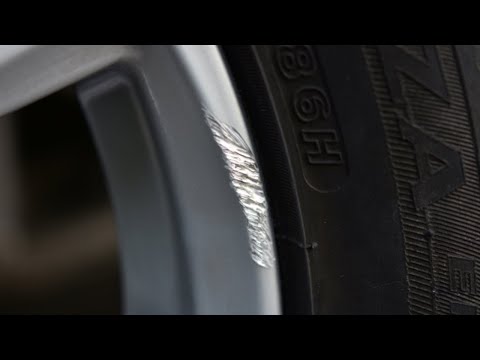
With the presto wheel repair kit we offer to repair itself fast and professional way optical damage such as curb scratches, scuffs and small stone chips.
Before use, carefully read and follow the instructions on the packaging.
First clean the rim with a rim cleaner. The presto Rim Cleaner is particularly suitable. Thoroughly remove brake dust, dirt and any loose paint as well as protruding aluminium around the damaged area. For best results, there should be no residues of polish or wax. Then rinse well with water and allow the rim to dry completely.
To avoid sanding marks on undamaged areas next to the damaged area, please tape them off. If you leave the tyre on the rim, it may be advisable to let the air out of the tyre to be able to work better. Now smooth or deburr all irregularities on the damaged area with P80 sandpaper. Then remove all sanding residues.
Please use the enclosed gloves for mixing and filling the damaged area. Cut off the required amount from the aluminium repair stick and knead the mass well with your fingers for approx. one minute (as soon as the mass has taken on a uniform dark grey colour, it is ready for use). Now apply a slightly oversized amount of the filler to the damaged area and shape it with your fingers. Immediately remove all excess filler and allow the compound to dry for about 1 hour.
After curing, sand the filler material with the enclosed sandpaper in grit size P80 until the repair area and the rim have the same contour again. Then remove all sanding residues. If there is still an indentation or unevenness after sanding, repeat process 4-6.
Then wet-sand the repair area with the enclosed sandpaper in grit P600 as well as P1200 to smooth the surface and to achieve an ideal base for the subsequent painting. Then remove all sanding residues. Allow the rim to dry completely (possibly with the help of a hair dryer).
Carefully tape all areas around the repair site that are not to be painted. For this purpose, it is advisable to fold the tape over to avoid a paint edge. Use masking paper to protect the rim from filler spray. First prime the repair area with the enclosed presto Filler. Shake the can for 2 minutes and spray briefly. Now apply the filler in 1-2 thin layers from a spraying distance of approx. 25 cm.
After the filler has dried through (2-4 hours / 20°C), you can remove the masking paper and paint on the enclosed presto Rim Silver (The paint spray contains a common silver aluminium colour. However, if you require a different colour, please contact your local DUPLI-COLOR/presto dealer). Shake the can in advance for 3 minutes and spray a sample to compare the colour shade. Now spray on several thin coats from a distance of approx. 25 cm at intervals of 3 - 5 minutes. To protect the metal pigments, the paint can be sealed with e.g. presto 2-coat clear lacquer (not included in the set).
After approx. 60 minutes of drying, remove the adhesive tape and allow the paint to cure for 24 hours. If necessary, the repair area can be repolished after 2-3 days.
Notes:
Please read the instructions for use and notes carefully. In addition, you can watch a video on the presto Rim Repair Set at www.motipdupli.com before use. The ambient temperature at the time of application should be between +10°C and +25°C if possible. We recommend removing the rim to be repaired from the vehicle. It is not absolutely necessary, but it makes the work easier. The kit is only suitable for the surface repair of rims and not for the repair of cracks, dents or breaks. The manufacturer accepts no liability for damage or consequential damage caused by incorrect use of the set. After the repair with the aluminium repair stick, subsequent powder coating is also possible.